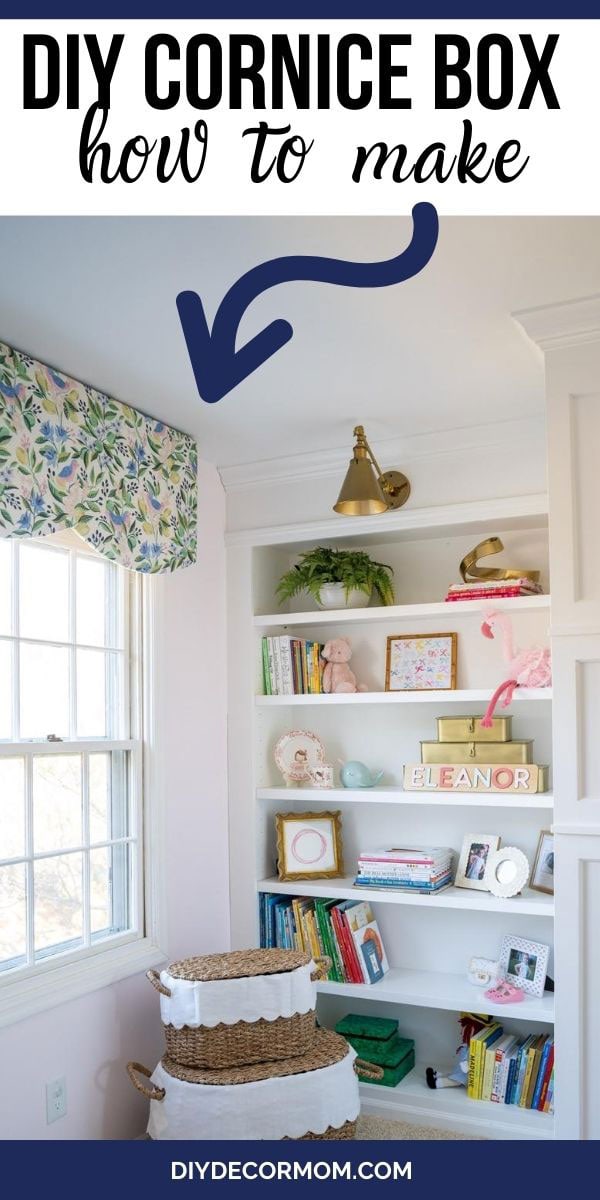
How To Make A Fabric Covered Window Cornice
DIY Cornice Board: How to Make a Fabric Covered Cornice Box for your windows! Come across the total footstep-by-footstep tutorial on how nosotros built our scalloped window valance for our girls room and covered it in material. See what tools, materials, and tricks yous can use to do this and how to mount the cornice to your wall!
DIY CORNICE Lath
If you lot've been effectually awhile, you've probably seen my Window Valance Box that we installed in our nursery several years agone. It is yet i of my favorite DIY window treatments to engagement and provides a lot of blindside for the buck! Nothing elevates a room like skillful window treatments! But, they don't accept to be expensive! We made this with some simple MDF board, batting, and 2 yards of fabric (and we had some leftover so we could make a throw pillow!)
(see the balance of the girls' DIY bunk room here!
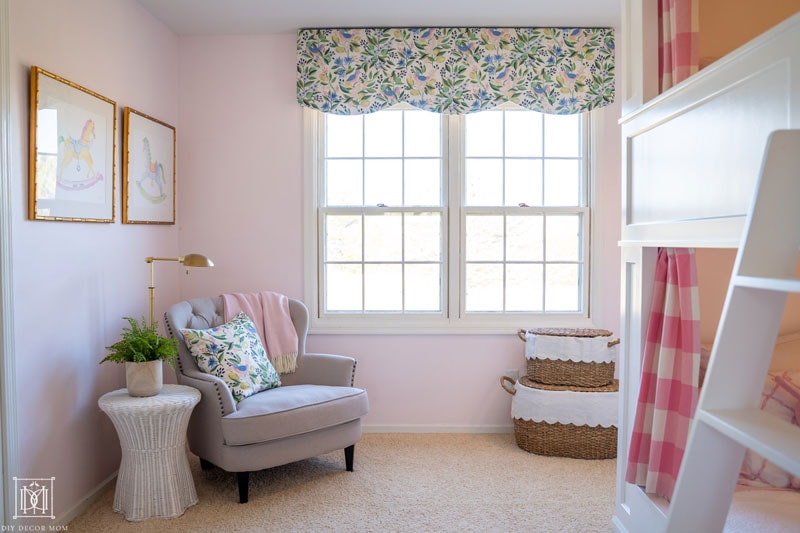
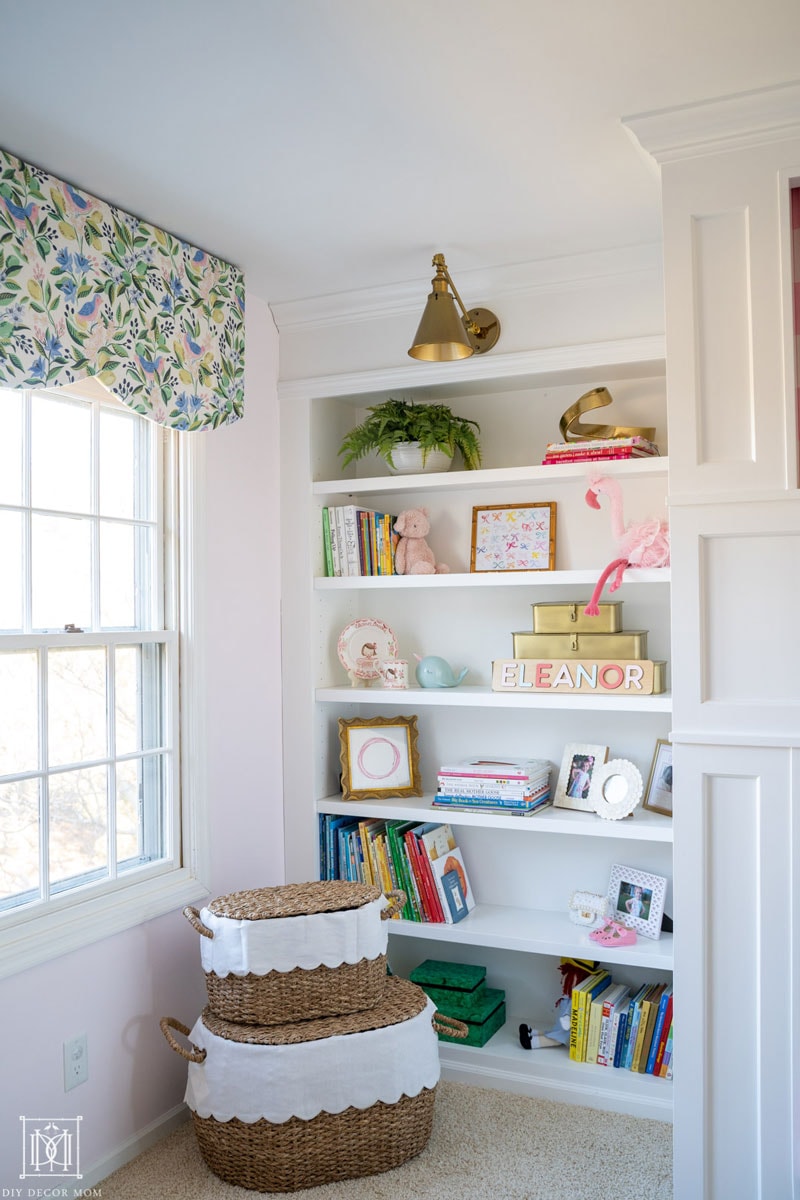
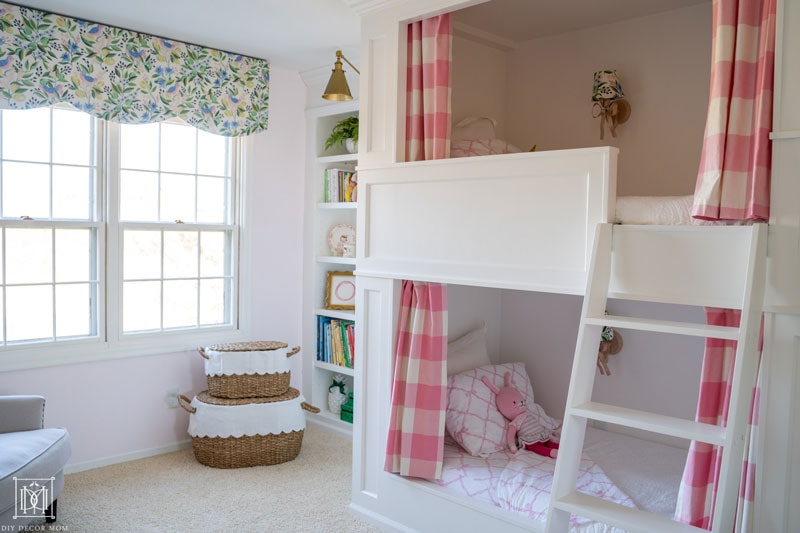
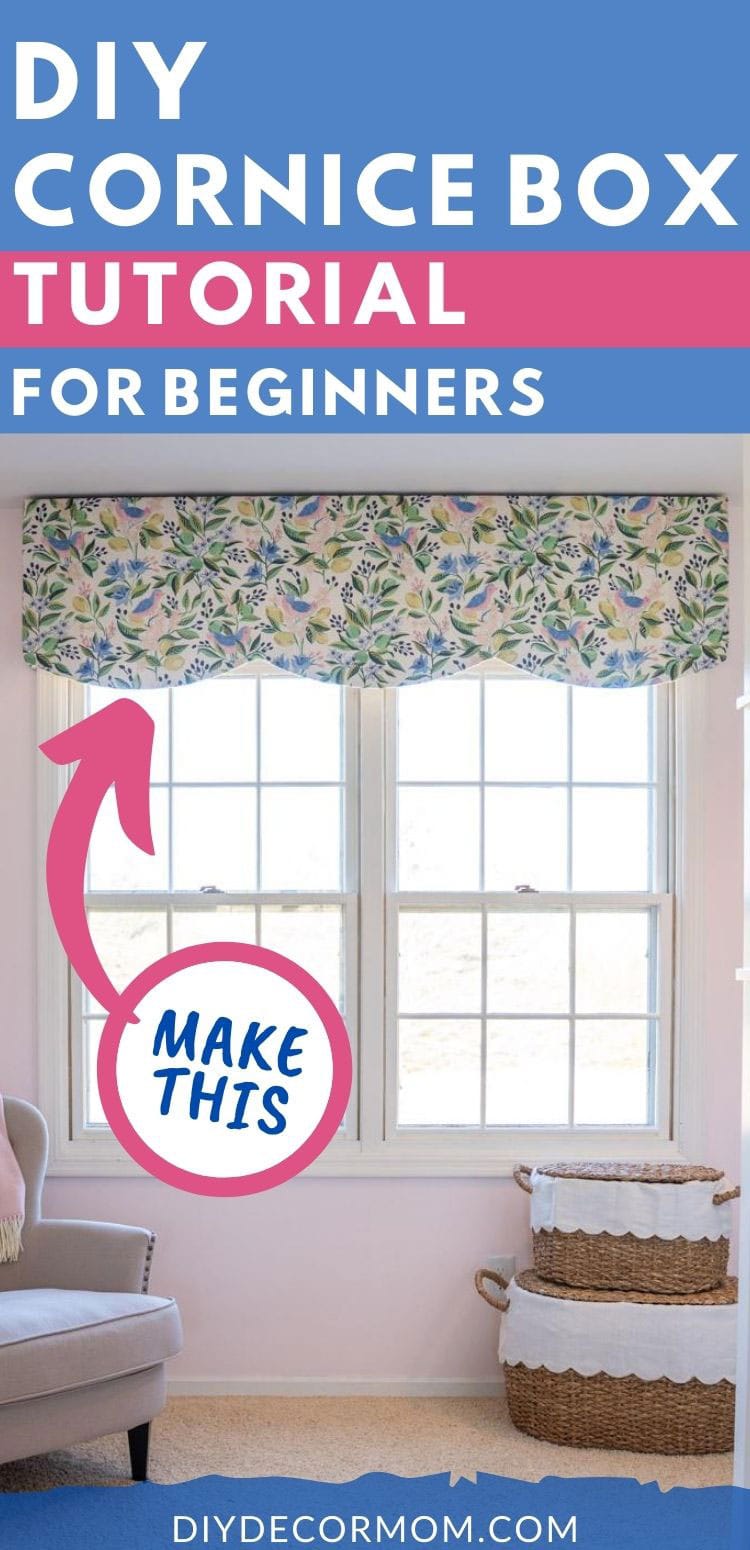
Nosotros hung this cornice box in our girls' shared bedroom. Our two oldest girls (ages 7 and 3) share a bunkroom and we wanted a window treatment that was cute; but, wouldn't interfere with the built-in bookcases. This simple scalloped cornice lath really finishes the room off!
Related: How to Build a Built-in Bookcase
HOW TO DESIGN A SCALLOPED CORNICE BOARD
When sizing a cornice at that place are a couple of key design rules I try to continue in heed:
one. The Cornice Board should be mounted 1″ below the ceiling:
Our ceilings are only 8 ft. tall, so I similar to add height wherever I can. Personally, I like the top of the cornice to come right up to 1" below the ceiling. This helps draw your optics upwards and makes the ceilings feel taller than they really are. Any higher and it'due south hard to maneuver the box.
two. The Cornice Box Should Hide Any Unsightly Blinds
The cornice should be just low plenty to cover the top of the window frame and any other window treatments (such as shades or blinds) that you want to cover. We had to move our faux wooden blinds up over the window and so closed they would hibernate behind the cornice box.
These should be only barely covered upwards when viewing the window at standing superlative.
iii. Don't cover up too much window–remember y'all want to let the light in!
You don't want the cornice to cover any more of the window than necessary but you also don't desire to encounter the blinds underneath – it's a balancing human action. To size the scallops, it'south really dependent on the size and calibration of the window and room.
For this window, we decided on iii scallops with a 24" radius and 3 inches of reveal betwixt the scallops.
4. Cornice Board width accounts for window trim and curtain rods
Last, the cornice needs to exist broad enough to articulate the window casing trim and deep enough that there is enough room for the blinds or curtains underneath. Ours ended up being 72″ wide past 20″ tall by v″ deep.
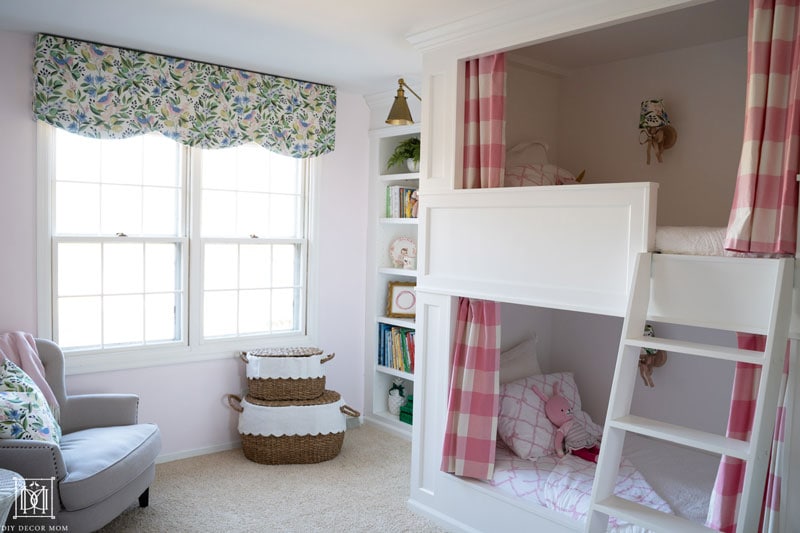
Run into how we congenital these DIY built-in bunk beds here!
Prototype A CORNICE Lath
If y'all've read my blog for a while I probably sound similar a broken record here, only we almost always prototype anything new we are going to build – especially if at that place is a design element nosotros're not totally sure most or if it'southward something that volition exist expensive or time consuming to change later on we've congenital it.
Prototypes do a couple of things for us – beginning, they confirm what the design element volition look like in existent life without investing much time/effort upfront. If we don't love it, it's easy to make changes at this point until we do. In fact, nosotros consider it a good thing if we exercise make changes at this point because it ways nosotros saved ourselves time/money/headaches had nosotros moved forward with the pattern.
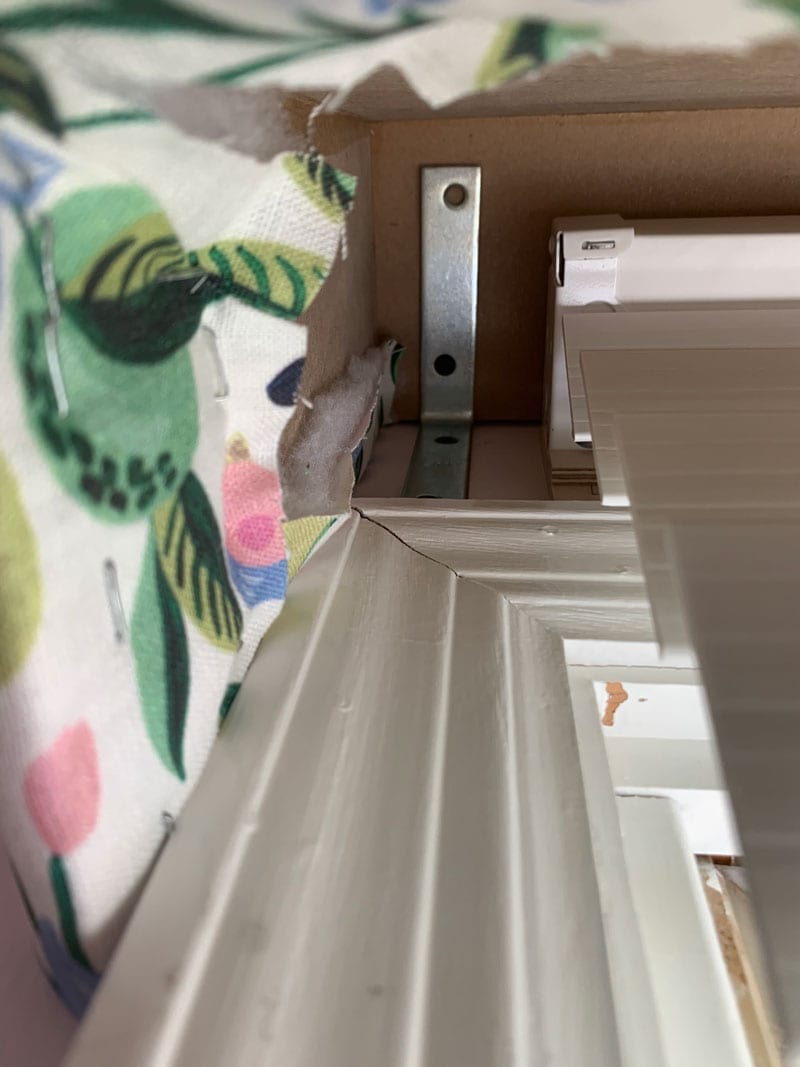
Second, they confirm the design will actually fit the intended space. In the example of the scalloped cornice, we marked out the location of the summit of the window casing on the back of the paradigm and then we could confirm the l-brackets used to mountain the cornice to the wall would not hit the window casing.
For this DIY cornice board nosotros congenital two prototypes starting time, a newspaper one to work out the proportions of the scallops. Nosotros revised this one a couple of times until the scallops felt right.
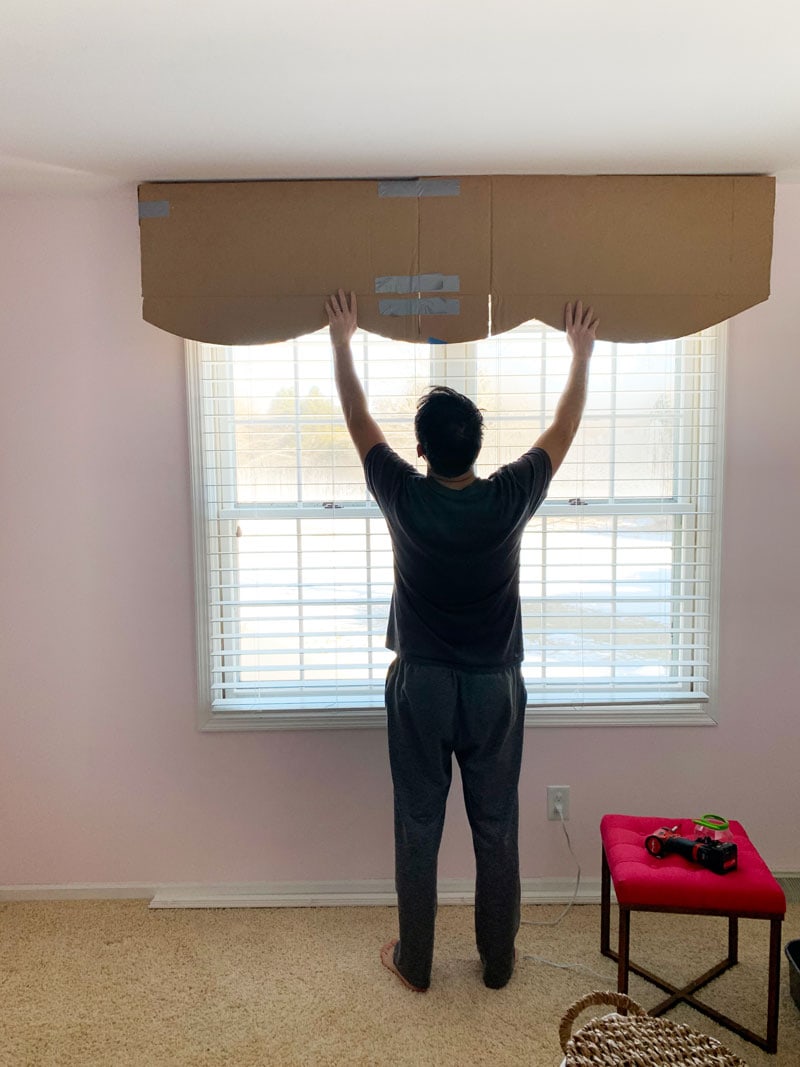
Next, we made a cardboard mock-up that nosotros could hold in place and get a real feel for what the cornice would look and experience like in the room. We loved the fashion information technology felt so we were comfortable and confident moving forward to edifice it out of woods!
HOW TO BUILD A CORNICE BOARD WITH SCALLOPS
*affiliate links take been used at no cost to you lot please run into my consummate disclosure policy here
HOW TO BUILD A WOODEN CORNICE BOX:
1. Cutting out the rectangular pieces of wood
Often you tin inquire someone at your home eye to cutting the pieces to your dimensions for a minor fee. This tin be a great option if you don't have a table saw. Information technology's too a good option if you lot don't have a huge machine or truck to lug dwelling house a full iv×8 sheet of wood.
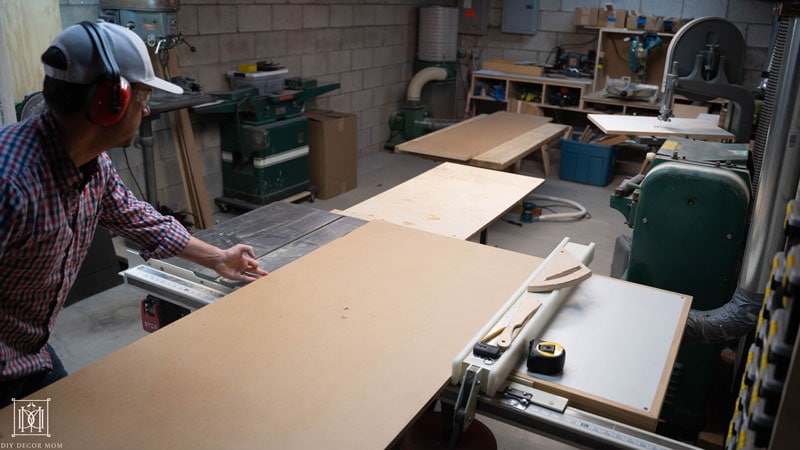
For our cornice we didn't really have 1 slice of ½" MDF large enough for the whole front confront, so we used ii smaller pieces joined together. To join the pieces we glued and nailed two backer-pieces to the behind of the front face. We used two pieces so they wouldn't get in the way of the cross-caryatid that would demand to be fastened later. I wouldn't necessarily recommend doing it this way considering it complicated the build a scrap, simply information technology proves you can frequently make practise with what you have on paw.
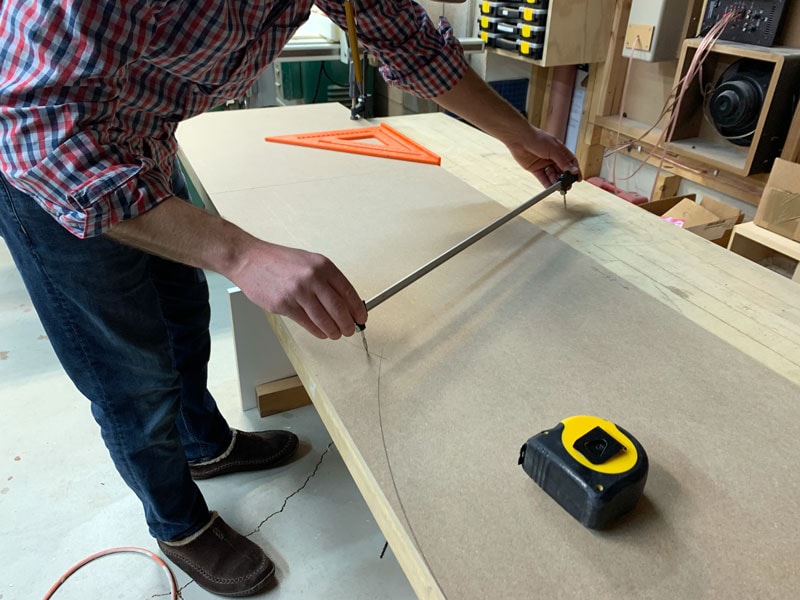
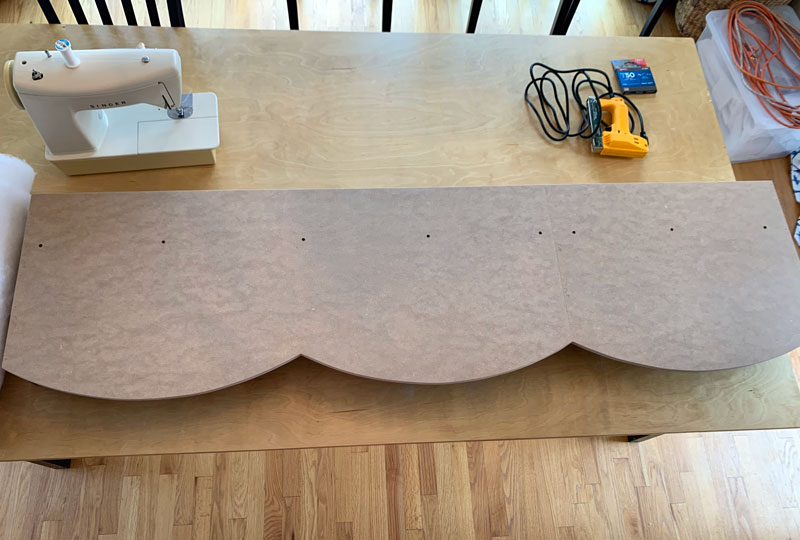
2. Mark out the scallops using a compass to depict the arcs
With the front face of the cornice cut to size, the adjacent footstep was to mark-out the scallops. Nosotros first measured and marked the center points of the circles that make each of the scallop arcs. You tin can see that the center signal of each arc is actually on the workbench – then we clamped the cornice to the table and then it wouldn't move, and marked the center points correct on the workbench.
We used a compass to draw the arcs. You lot could as well use a scrap of wood with 2 holes drilled in it spaced apart at the radius of the circle. You could also employ a piece of string or a record mensurate.
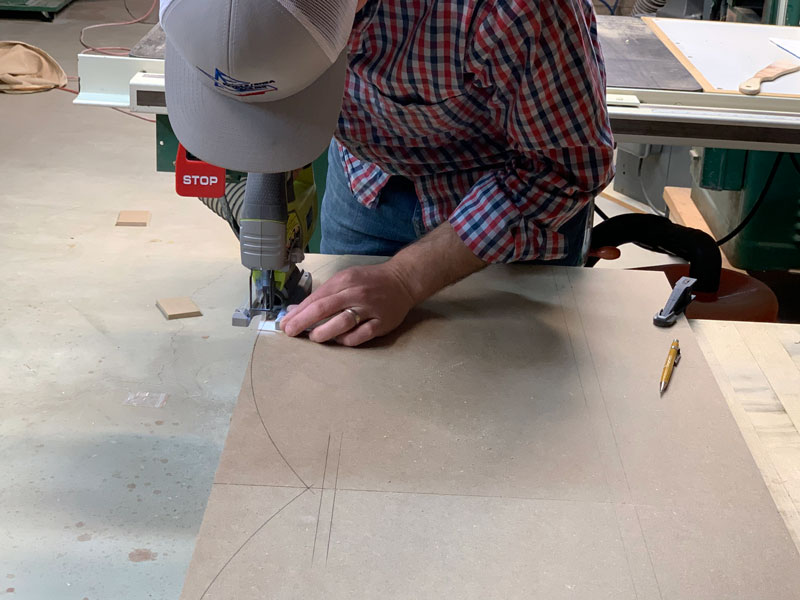
three. Cut the scallops with a jigsaw
One time the scallops were marked, we carefully cut them out with a jigsaw trying to follow the bend smoothly and let the saw to the cutting Pro tip: if you button too hard when cut a curve with a jigsaw, it causes the blade to bend off to the side and gives you an uneven cut. One time the curves were cut we smoothed them out a bit with some 120 grit sandpaper – it doesn't need to be perfect here since it will be covered upward with batting and fabric eventually.
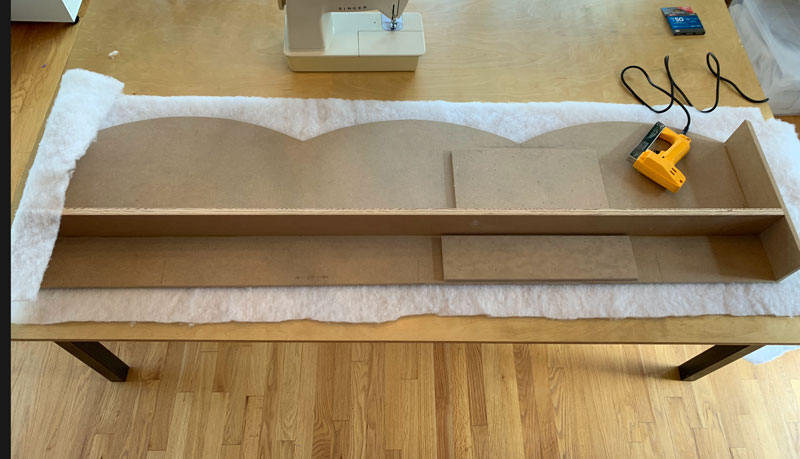
4. Assemble the sides and cantankerous-brace
Nosotros used a combination of wood mucilage, 18ga. brad nails, and ane-¼" long drywall screws. Nosotros fastened our cross-brace five inches downwardly from the tiptop of the cornice, and the sides were cut to be flush with the top and lesser. Once the glue dried, we sanded all the edges and corners with 120 dust sandpaper so there were no sharp points that might poke through the batting or material later on.

HOW TO COVER CORNICE BOARD WITH Material
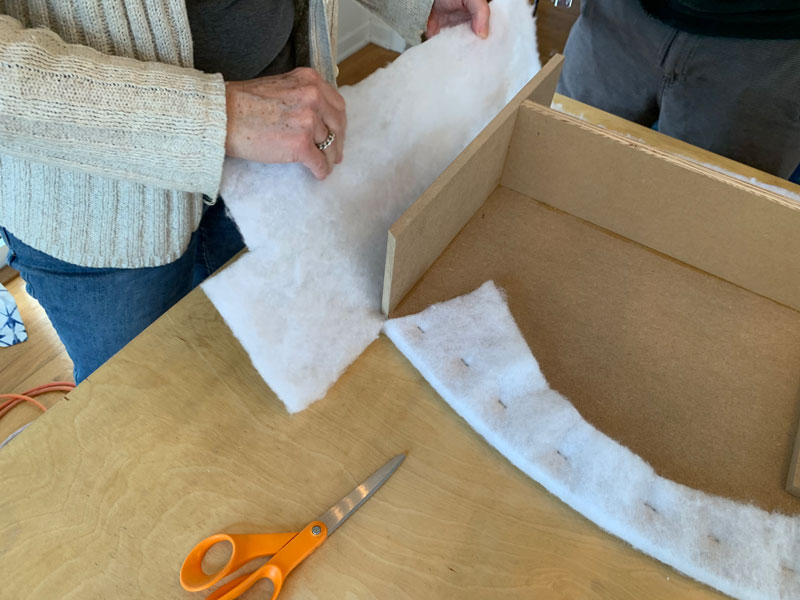
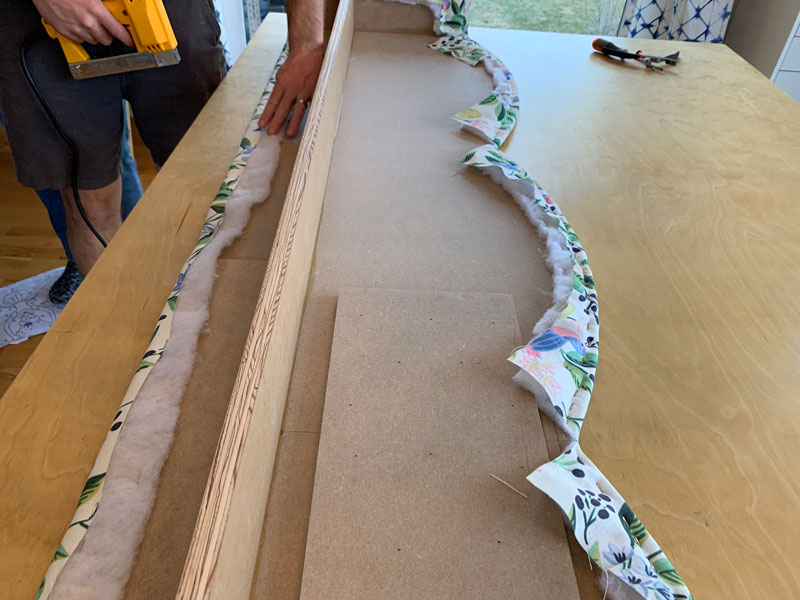
i. Cut a piece of batting larger than the cornice board by 2-iii″ on each edge.
We cut a piece of batting out that was larger than the surface to be covered past about 2-three inches on each border including the sides – this was to give plenty of extra to staple to the backside of the cornice.
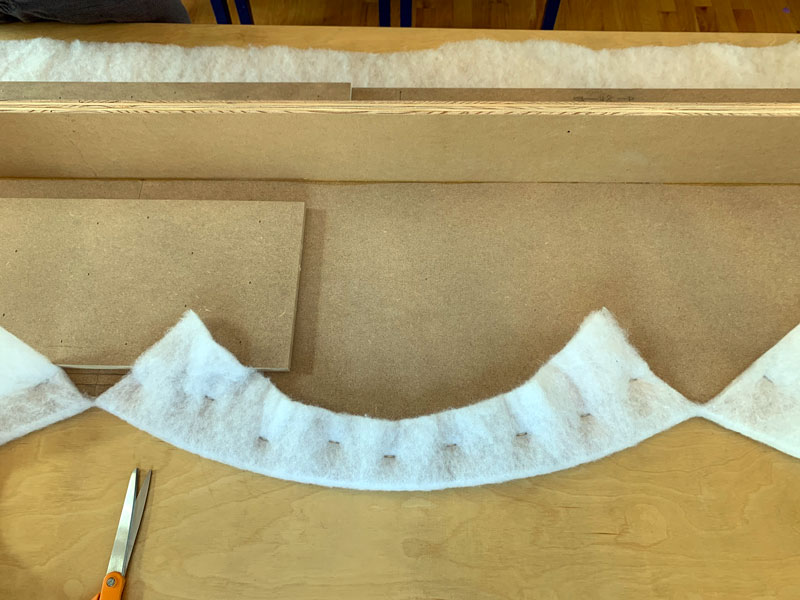
ii. Make a slit in the batting at the corners between the scallops (don't cut all the way to the corner.)
iii. Fold batting over and staple to the dorsum of cornice board. Repeat for each scallop.
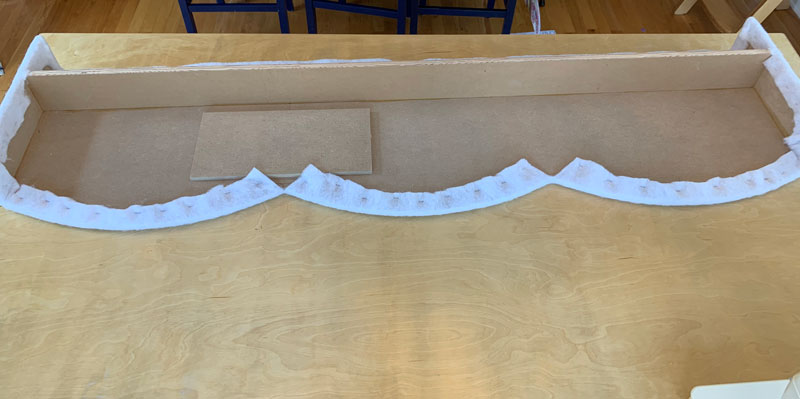
4. Fold and staple batting along the top edge.
(While doing this Take care that the batting was pulled at a consistent tension and so information technology laid polish on the forepart face.)
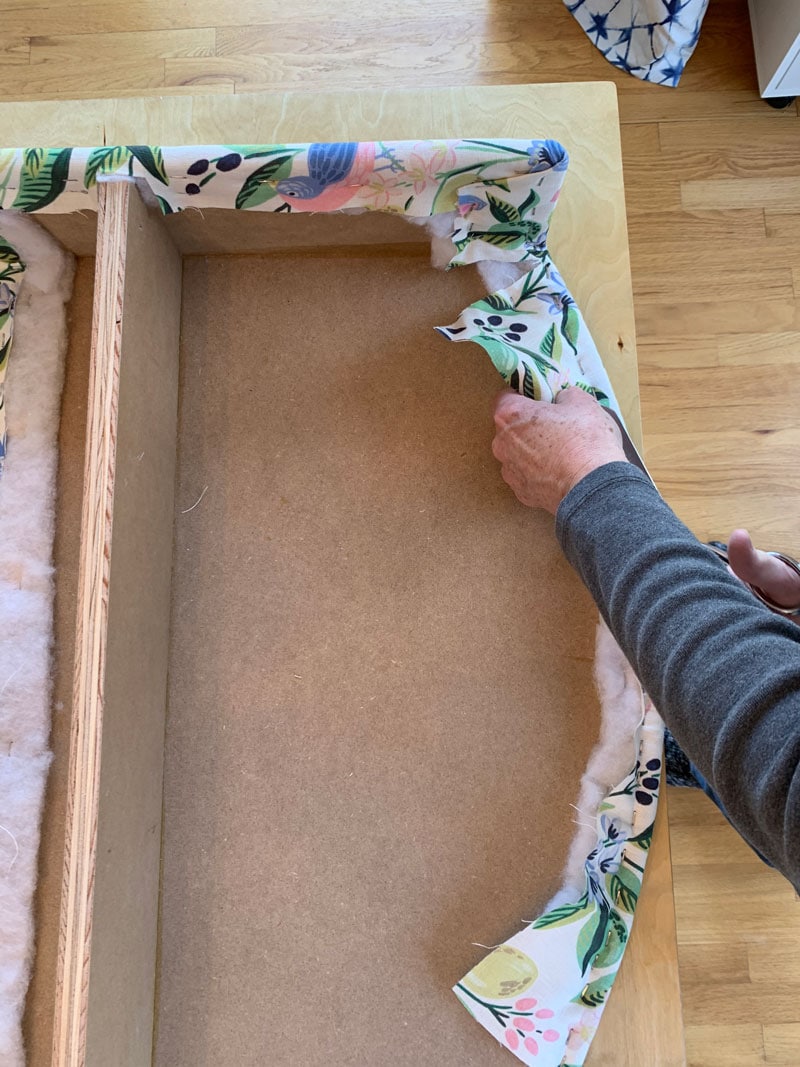
5. Fold, trim, and staple sides and corners of DIY cornice lath.
To trim the corners we cutting a slit into the corner and folded the batting over itself and stapled it in place. If in that location was whatsoever actress overlapping batting that would have been too thick to staple, we simply trimmed information technology out. The goal here is to have polish batting on the visible front and edges of the cornice just – everything else is hidden!

vi. Trim whatsoever excess batting within an inch or two of staples. This will ensure your DIY cornice board is round enough around the edges which will arrive look more professional.

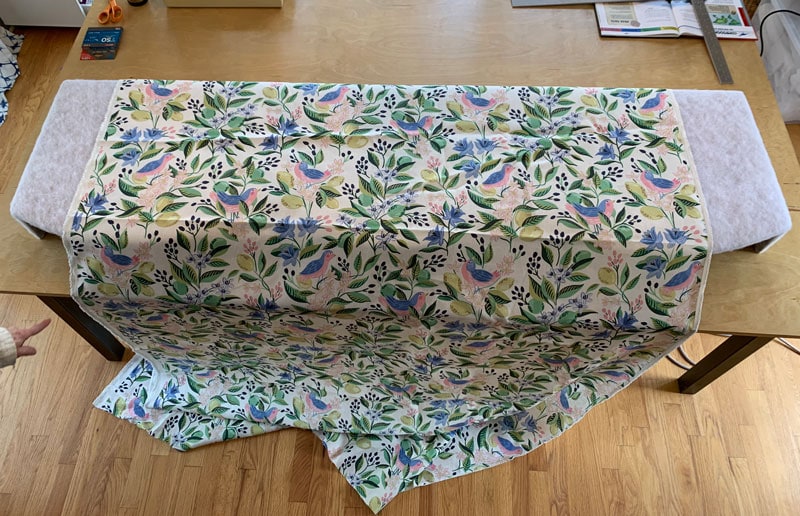
7. Add the cloth roofing:
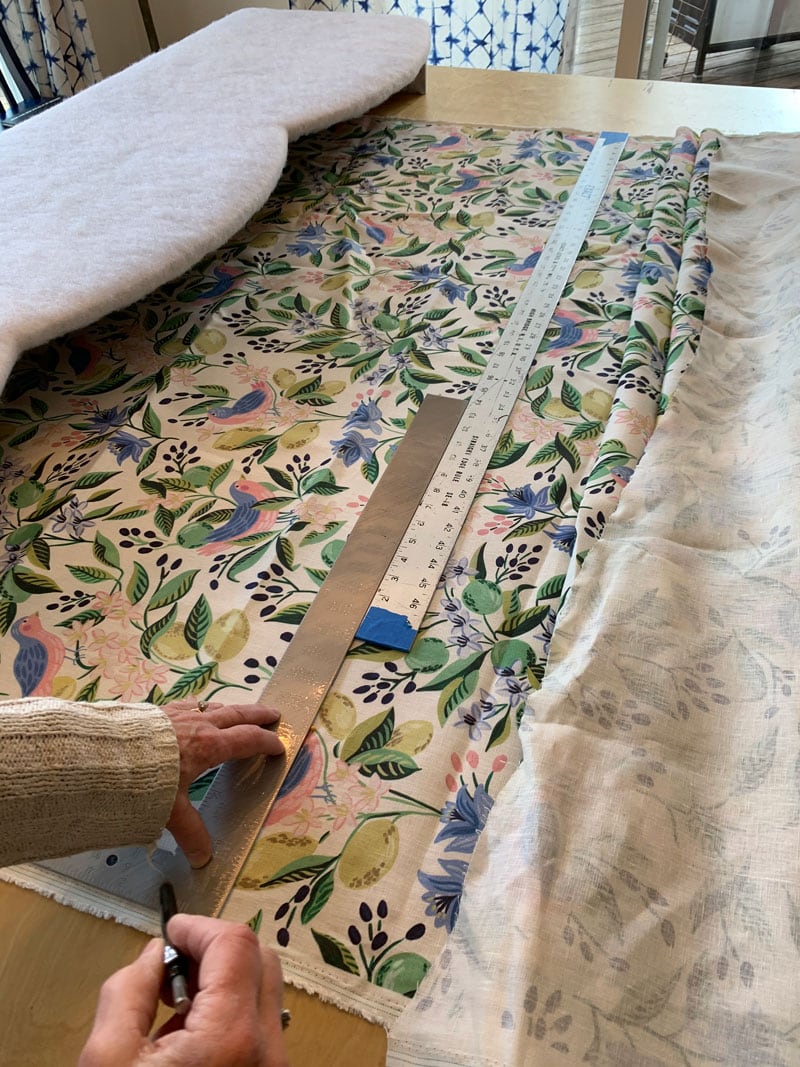
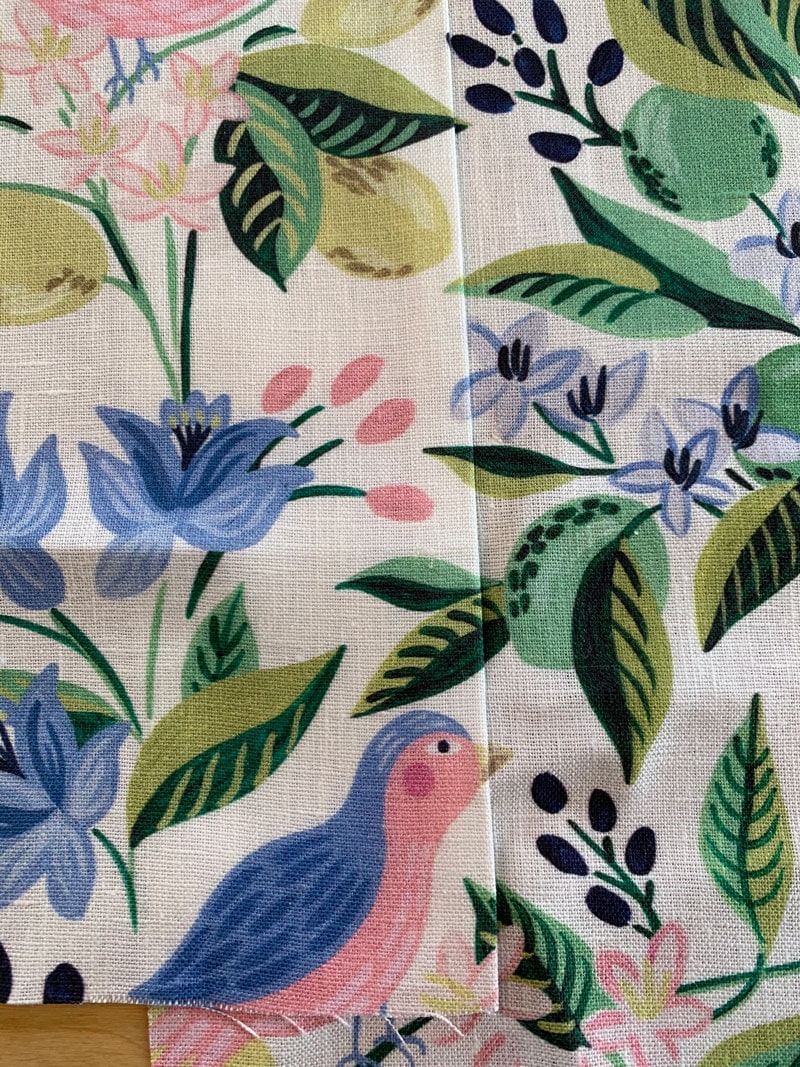
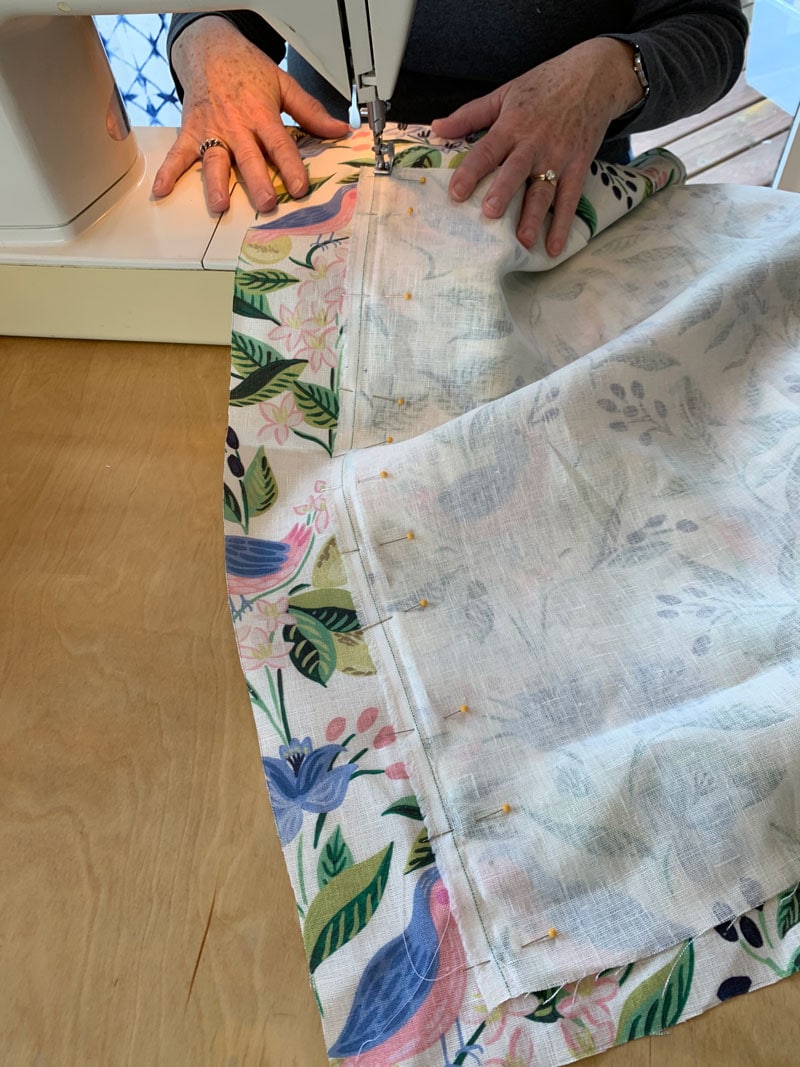
Unfortunately for us, the pattern on our fabric was oriented in a way such that we could non simply cover the cornice with one piece of fabric (or the birds would have all been facing sideways!). To business relationship for this, we opted to seam the fabric to create one slice which was long plenty to comprehend the entire cornice, with the pattern facing the right direction.
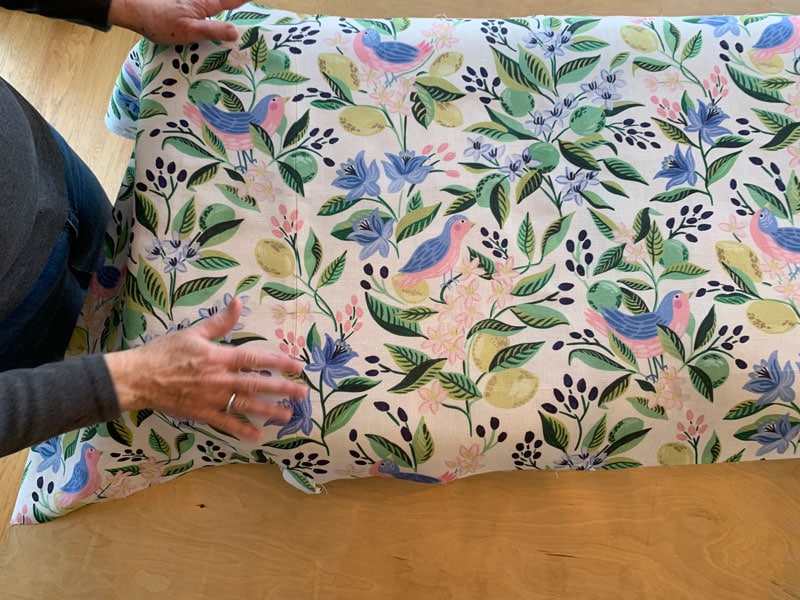
The seams also needed to have the blueprint match-up perfectly so they wouldn't be noticeable. To make things even more than difficult on ourselves, we decided to make 2 seams so they would be symmetrical on the finished piece instead of just one (which would accept been off to one side – in hindsight, this footstep was probably unnecessary, but information technology looks great and no ane has ever noticed the seams)! The last product is one very professional person-looking DIY Cornice Board!
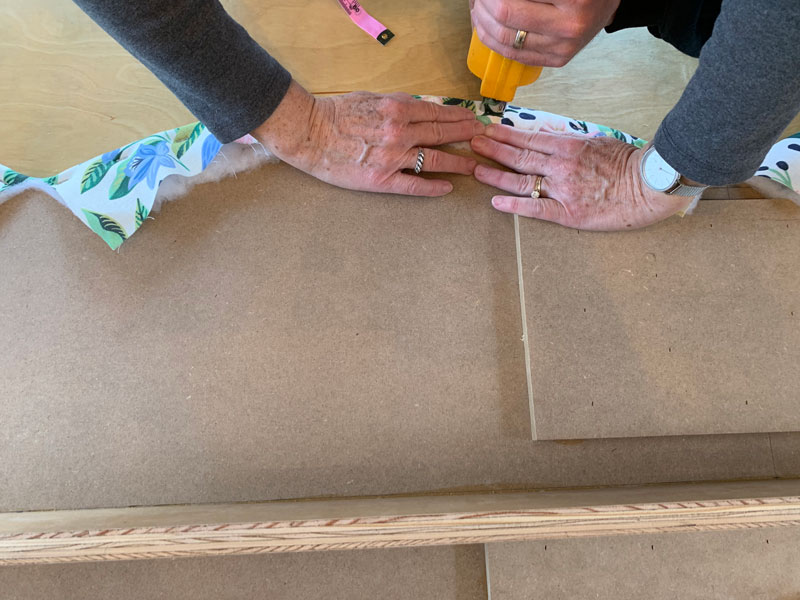
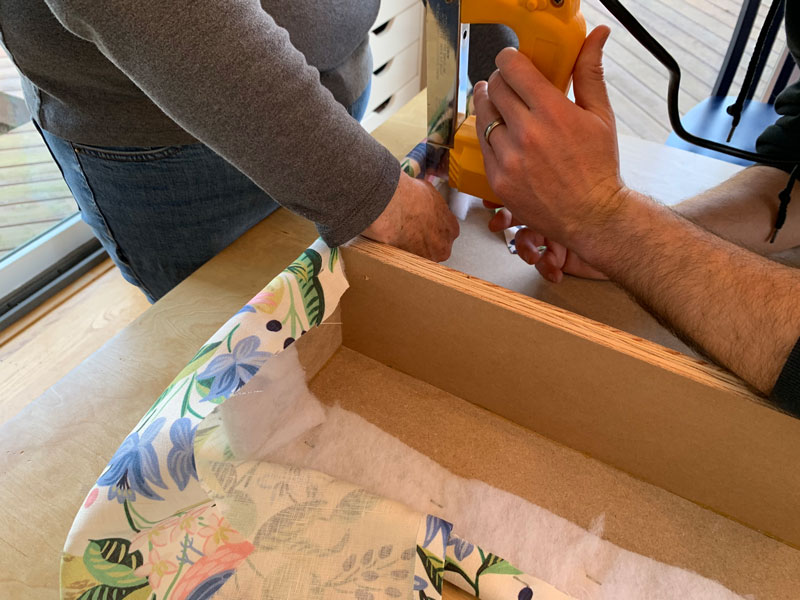
8. Staple cloth to the cornice:
We followed the same steps as before with the batting, except first nosotros put a few staples along the top edge to agree the material centered and direct while we worked on the scallops. Again, nosotros cut slits into the corners making sure not to cut too deep or the slit would testify through from underneath.

9. Trim backlog material and get cornice ready to hang on the wall.
HOW TO MOUNT CORNICE BOX TO WALL
To mount the cornice to the wall, use heavy-duty 50-brackets.
Most windows have a header above them which ways there is solid forest all across the window opening which is perfect for attaching the 50-brackets. Verify this with your stud finder (or locate studs to screw your brackets into).
We used 2in. deck screws to attach our L-brackets to the wall. The primal hither was to make sure the top of the brackets were level and an equal altitude down from the ceiling – so we made sure to mensurate and check twice. We positioned the brackets and so the finished cornice would exist about 1" below the ceiling.
To adhere the cornice, to we but set it on acme of the L-brackets and drove a couple of screws upwards through the bracket and into the cross-brace.
And the concluding result…

Nosotros couldn't exist happier with how our DIY cornice board turned out! Information technology hides the girls (necessary) but cruddy faux wooden blinds and ties the scallop theme in well with the rest of the room! The cornice design works peculiarly well in a kids' room as at that place are no curtains within kids' achieve!
FAQs on WINDOW CORNICES & DIY Curtains
What'due south the difference between a window valance and a cornice box?
The principal difference between a window valance and a cornice box is that cornice boxes are fabricated out of wood. Sometimes they are covered in fabric–other times not. While, there is a difference between the ii, most people don't know the difference and use them interchangeably. A fabric-covered cornice box is unique in that it has no loose fabric underneath (unlike a window valance.)
What is a window valance?
A window valance is a type of window treatment–the uppermost part which typicallly covers blinds. It is made out of fabric and tin be combined with defunction underneath or left blank. It is too called a pelmet box in the UK.
What is a cornice box or a window cornice board?
A cornice box or a cornice board is a difficult-elevation box effectually the top of a window. It typically hides window treatment hardware underneath (like blinds).
Want to run into more than DIY Drapery posts? Cheque out our whole library here!
 >">
>">